Essential Tips for Horseback Photography: Capture Your Adventure Perfectly
Horseback riding is a magical experience, especially when surrounded by nature’s beauty. Capturing those moments through photography can make your memories last forever. Whether you are on a forest horse safari, a private beach ride, or a river canoeing adventure, knowing how to take great photos on horseback can enhance your journey. I want to share some essential horseback photography tips that will help you get stunning shots, even if you are a beginner.
Mastering Horseback Photography Tips for Beginners
Taking photos while on horseback or of horses in motion can be challenging. But with a few simple techniques, you can create beautiful images that tell the story of your ride. Here are some practical tips to get you started:
Use natural light: Early morning or late afternoon light is soft and warm. Avoid harsh midday sun that creates strong shadows.
Focus on the eyes: The horse’s eyes are full of expression. Make sure they are sharp and clear in your photos.
Keep your camera steady: Use both hands or a strap to avoid blurry images, especially when the horse is moving.
Capture movement: Try panning your camera to follow the horse’s motion. This technique blurs the background and highlights the horse.
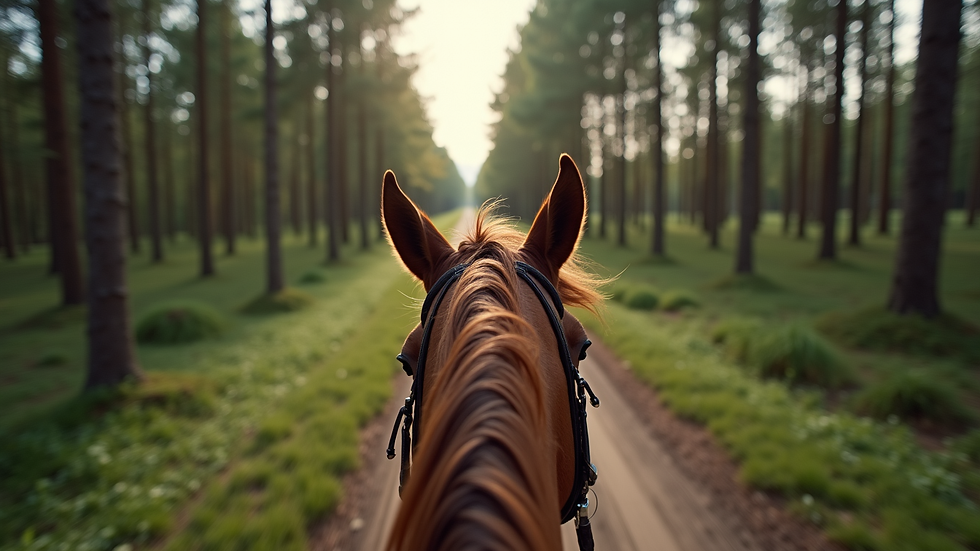
Get creative with angles: Shoot from eye level for intimacy or from a low angle to make the horse look majestic.
Remember, patience is key. Horses can be unpredictable, so take your time and enjoy the process.
What is the 20% Rule in Horseback Riding?
The 20% rule is a guideline often used to ensure the safety and comfort of horses during rides. It suggests that a horse should carry no more than 20% of its body weight, including the rider and any equipment. This rule is important to keep in mind when planning your horseback photography sessions, especially if you want to capture action shots without stressing the horse.
Why does this matter for photography? If the horse is comfortable and not overloaded, it will move naturally and look relaxed in your photos. Overburdened horses may show signs of discomfort, which can affect the quality of your images. Always prioritize the horse’s well-being to get the best results.
Choosing the Right Equipment for Horseback Photography
You don’t need the most expensive camera to take great horseback photos. However, some equipment choices can make your experience easier and your photos better:
Camera type: A DSLR or mirrorless camera with a fast autofocus system is ideal. But even a good smartphone can work well.
Lens choice: A zoom lens (70-200mm) lets you capture close-ups without disturbing the horse. A wide-angle lens is great for scenic shots.
Settings: Use a fast shutter speed (1/500 or faster) to freeze motion. Set your camera to continuous shooting mode to catch the perfect moment.
Accessories: A camera strap or harness keeps your gear secure. Consider a polarizing filter to reduce glare on sunny days.
If you are riding, keep your camera easily accessible but safe. Practice handling your camera while on horseback before your trip.

Tips for Taking Photos on the Trail and Beach
When you are out on a forest horse safari or riding along a private beach, the environment offers fantastic photo opportunities. Here’s how to make the most of them:
Use the surroundings: Include trees, water, or mountains in your frame to add depth and context.
Capture candid moments: Photos of the horse interacting with nature or the rider enjoying the ride feel authentic and warm.
Watch the background: Avoid cluttered or distracting backgrounds. A simple sky or open field can make your subject stand out.
Be mindful of safety: Always stay balanced and secure on your horse. Don’t lean too far to get a shot.
Experiment with timing: Sunrise and sunset rides provide magical lighting. Midday rides can work if you find shaded spots.
These tips will help you create images that reflect the peaceful and scenic atmosphere of your adventure.
How to Include People in Your Horseback Photos
Including riders in your photos adds a personal touch and tells a fuller story. Here’s how to do it well:
Focus on connection: Capture moments where the rider and horse interact naturally, like gentle touches or shared glances.
Use natural poses: Avoid stiff or forced poses. Let the rider relax and enjoy the ride.
Frame carefully: Position the rider and horse so they fill the frame without cutting off important parts.
Consider safety: Make sure the rider is comfortable and secure before taking photos.
Use burst mode: Horses move quickly, so taking multiple shots increases your chances of a perfect photo.
If you want to learn more about photos on horseback tips, you can find helpful resources online that guide you through the process step-by-step.
Final Thoughts on Capturing Your Horseback Experience
Taking photos during your horseback adventure is a wonderful way to preserve memories. With these essential tips, you can confidently capture the beauty, movement, and emotion of your ride. Remember to respect the horse’s comfort, use natural light, and experiment with angles and settings. Most importantly, enjoy the moment and let your passion for horseback riding shine through your photography.
Happy riding and happy shooting!